Playwrightでビジュアルリグレッションテストを導入して安全にCSSライブラリを置き換える
このブログのCSSライブラリをVanillaExtractからLinariaに置き換えました。
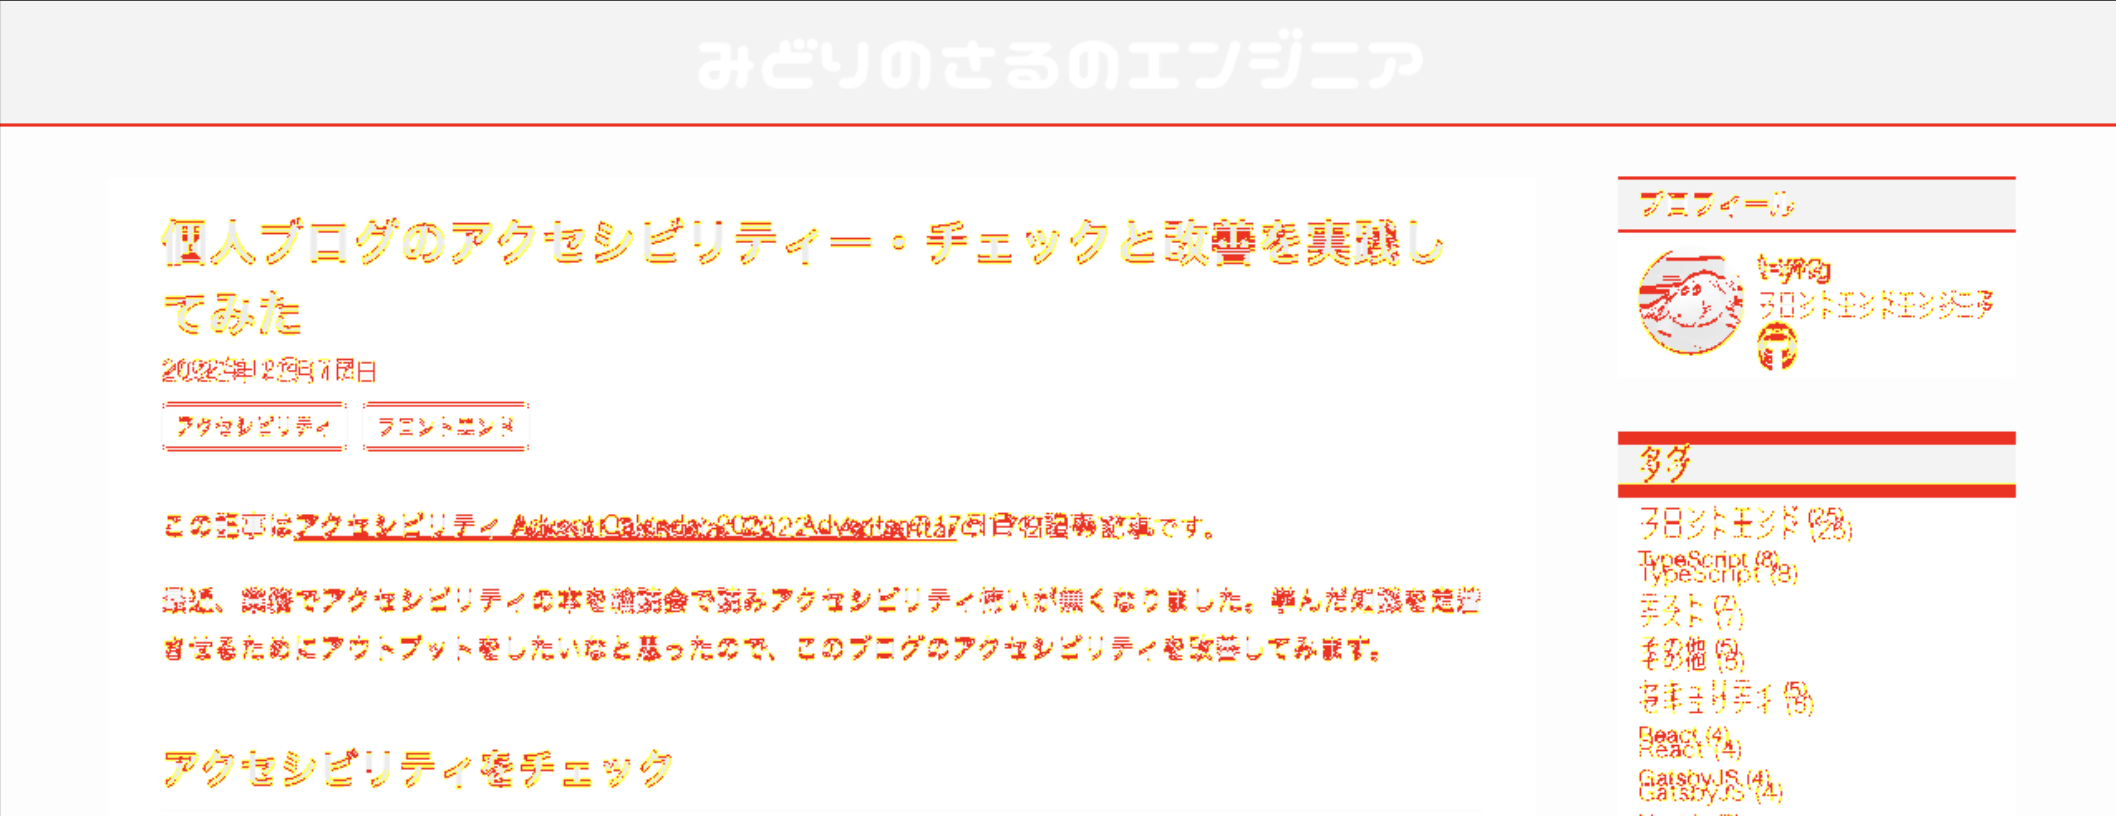
Linariaに置き換えるにあたり全体のCSSを移行する必要がありデザイン崩れが心配だったので、Playwrightでビジュアルリグレッションテストを実施してデザイン崩れがないことを自動テストしました。
Playwrightの導入とLinariaへの移行は次のPRで確認できます。
Playwrightのインストールと環境構築
パッケージ単体としてインストールもできますがcreateコマンドを利用すれば、設定ファイルの自動生成など環境構築を自動で行ってくれます。
$ yarn create playwright設定ファイルの修正
自動生成された設定ファイルを自分の好みに合わせて修正します。
- VRTのスクリーンショットを管理しやすくするためにファイルパスを設定
- テスト対象の端末を設定
- Desktop ChromeとMobile Safari iPhoneSE の2つを対象とする
- webServerでテスト実行前にローカルサーバーを起動する設定を追加
// playwright.config.ts
import { defineConfig, devices } from '@playwright/test';

/**
 * See https://playwright.dev/docs/test-configuration.
 */
export default defineConfig({
    testDir: './e2e',
    // スナップショットのファイルパスを設定
    snapshotPathTemplate:
        '{testDir}/__snapshots__/{testFilePath}/{projectName}{ext}',
    /* Run tests in files in parallel */
    fullyParallel: true,
    /* Reporter to use. See https://playwright.dev/docs/test-reporters */
    reporter: 'html',
    /* Shared settings for all the projects below. See https://playwright.dev/docs/api/class-testoptions. */
    use: {
        /* Base URL to use in actions like `await page.goto('/')`. */
        baseURL: 'http://127.0.0.1:3000',

        /* Collect trace when retrying the failed test. See https://playwright.dev/docs/trace-viewer */
        trace: 'on-first-retry',
    },

    // テスト対象のブラウザを設定
    projects: [
        {
            name: 'Desktop Chrome',
            use: { ...devices['Desktop Chrome'] },
        },
        {
            name: 'Mobile Safari iPhoneSE',
            use: { ...devices['iPhone SE'] },
        },
    ],

    /* Run your local dev server before starting the tests */
    webServer: {
        command: 'yarn dev',
        url: 'http://127.0.0.1:3000',
        reuseExistingServer: !process.env.CI,
    },
});
ビジュアルリグレッションテストの作成
Playwrightでは内部的に画像差分比較の仕組みが導入されているので、ページを表示してtoHaveScreenshotを実行するだけでビジュアルリグレッションテストを実現できます。
ページごとにテストファイルを作成していビジュアルリグレッションテストだけを実行するテストケースを実装していきます。
// e2e/top.spec.ts
import { test, expect } from '@playwright/test';

test('visual regression', async ({ page }) => {
    await page.goto('/');
    await expect(page).toHaveScreenshot({
        fullPage: true,
        animations: 'disabled',
    });
});
// e2e/post.spec.ts
import { test, expect } from '@playwright/test';
test('visual regression', async ({ page }) => {
await page.goto('/post/improve-a11y');
await expect(page).toHaveScreenshot({
fullPage: true,
animations: 'disabled',
});
});スクリーンショットの作成
初回実行時は差分となるスクリーンショットが存在しない状態なので、まずはベースとなるスクリーンショットを作成します。
# 最初にスクリーンショットを作成
$ yarn playwright test --update-snapshots
テストを実行
ビジュアルリグレッションの準備ができたので、実際にテストを実行してみます。
# テスト実行
$ yarn playwright test

 4 failed
    [chromium] › post.spec.ts:3:5 › visual regression ──────────────────────────────────
    # 省略
テストを実行したら画像の差分が発生して、テストに失敗しました。

コードを確認してみるとLinariaに移行するためにCSSの記述をJS ObjectからCSSスタイルに書き換えるにあたり、フォント指定の値が誤って文字列のままとなっていました。
ビジュアルリグレッションテストをしていなかったら、気づかずにそのままになっていました。
/* 文字列で囲っているのでCSSの構文として正しくない */
font-family: "'Helvetica Neue', Arial, 'Hiragino Kaku Gothic ProN', 'Hiragino Sans', Meiryo, sans-serif";

/* 正しくはこう */
font-family: 'Helvetica Neue', Arial, 'Hiragino Kaku Gothic ProN', 'Hiragino Sans', Meiryo, sans-serif;
まとめ
ビジュアルリグレッションテストを導入することで、マージ前に事前にバグに気づけて非常に良かったです。
プライベートで個人開発をしていると第3者のコードレビューは基本無いので、自動テストで可能な限りバグを出さない仕組みを自動化するのはとても有益だなーと改めて実感しました。😊